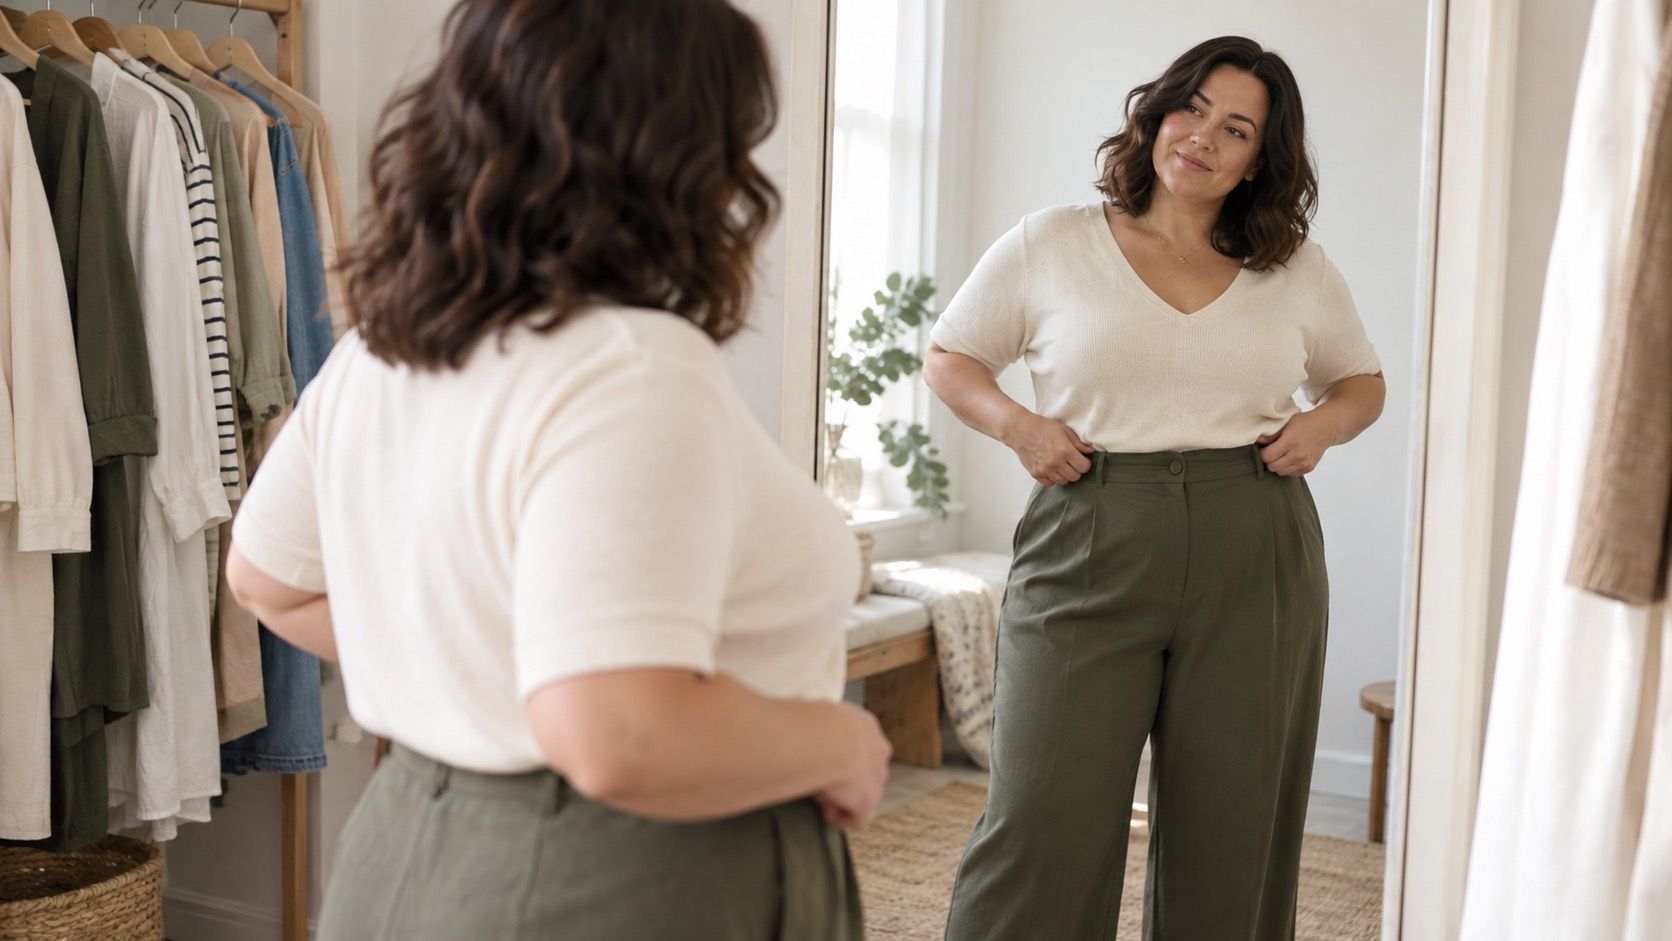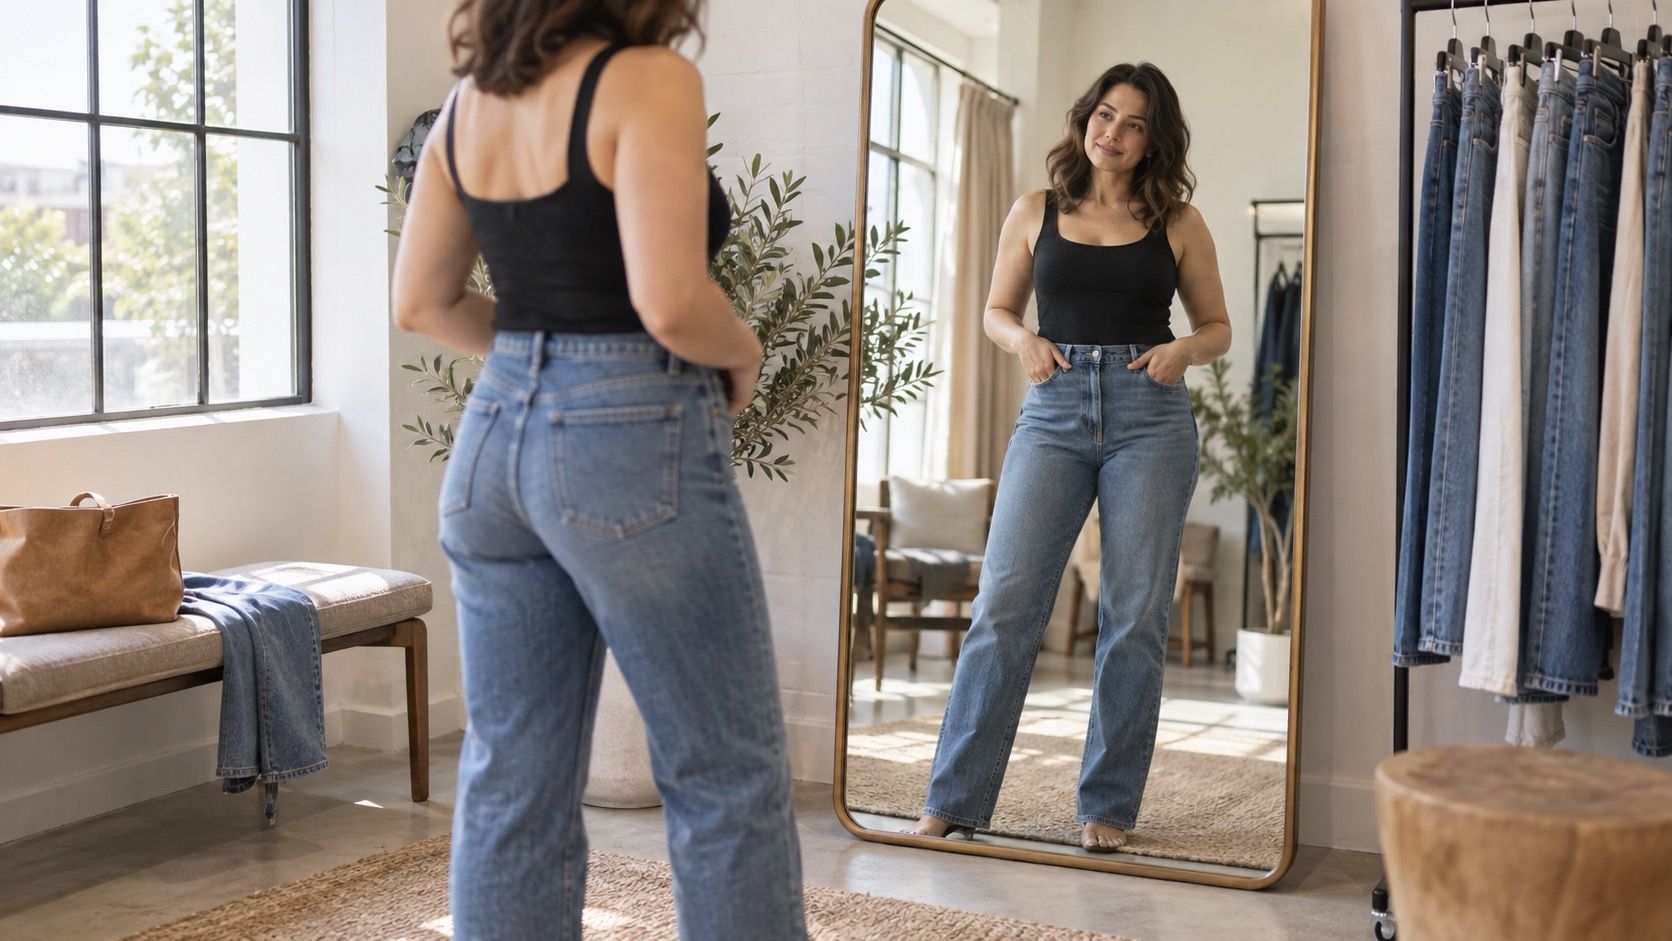
Body shape measurements are valuable when they explain why clothes fit the way they do, not when they become a scorecard. A few careful numbers can help you compare a size chart, spot the source of a pulling seam, and choose cuts worth trying. They cannot tell you what you are allowed to wear, and that is a relief.
Measure for a clothing decision, not for a label
Before you begin, decide what you want the numbers to solve. Perhaps shirts pull at the bust, trousers fit the hip but leave a gap at the back, or a fitted dress seems to place its waist somewhere above your own. Each problem points to a different comparison. Measuring only because a chart promises a definitive body type often leaves people with a name but no clearer idea of what to buy.
Use a soft measuring tape, a full-length mirror, and a simple note on your phone. Wear a thin T-shirt, leggings, or underwear; bulky knitwear changes the surface, while tight shapewear changes the body you are trying to dress. Stand naturally on a hard, level floor. The posture should feel slightly unremarkable. If you would not hold it while waiting in a queue, do not use it for measurement accuracy.
Find the points where the tape belongs
For the bust, pass the tape around the fullest part of the chest and across the shoulder blades. Keep it parallel to the floor, and breathe normally. The natural waist is the narrowest point of the torso, often above the navel. It may be several centimeters above the waist of your everyday jeans, particularly if those jeans are low or mid rise. Let the tape touch the skin or fabric without digging in.
The full hip is the widest circumference around the seat and upper thigh area. It is easy to place the tape too high, especially when measuring alone, so turn sideways to the mirror and check the back. For shoulder waist hip measurements, shoulders require a separate method: measure straight across the upper back from one outer shoulder edge to the other. This is a width, not a circumference, so record it in its own column rather than pretending it is directly comparable to the others.
| Point | What you are looking for | Common slip-up |
|---|---|---|
| Shoulders | The outer edge where a shirt seam should end | Measuring around the upper body instead of across the back |
| Bust | The fullest level point around the chest | Letting the tape rise between the shoulder blades |
| Natural waist | The narrowest relaxed part of the torso | Using the trouser waistband as the reference point |
| Full hip | The widest point around hips and seat | Holding the tape too high or standing with weight on one leg |
Make one repeatable set instead of a dramatic first attempt
Take each circumference twice before writing it down. If the two readings differ, check the tape path and try once more; do not pull harder until the smaller figure appears. A tape that is horizontal, snug, and comfortable gives a number you can use. Include the date and, if relevant, the type of bra or garment worn. That sounds fussy, but it explains small differences when you compare notes later.
Repeat the whole set another day at a similar time. Bodies vary through the day, after meals, across a menstrual cycle, and with changes in training or weight. None of that invalidates the method. It simply means how to measure body shape works best as a consistent snapshot. If your hip is 40 inches one day and 40.5 the next, a range is more honest than a false sense of precision.
Read ratios without letting them boss you around
Place shoulders, bust, waist, and hips side by side. First compare the broadest upper-body line with the full hip. Then notice how much smaller the waist is than both. Similar shoulder and hip width with a distinctly smaller waist may describe a balanced, waist-defined silhouette. Hips noticeably broader than shoulders may explain why lower-body fit drives your size choice. A straighter relationship between the three circumferences can make clean, column-like cuts feel easier.
These are starting observations, not verdicts. Shoulder slope, torso length, bust placement, muscle, and fabric all affect what the eye sees. A body may have measurements that look balanced on paper yet need extra room in the shoulder of a woven shirt. Think of a measurement chart as a map with a useful scale, not an aerial photograph. It points you toward the right fitting-room tests; it does not replace them.
Use the numbers where they save you money
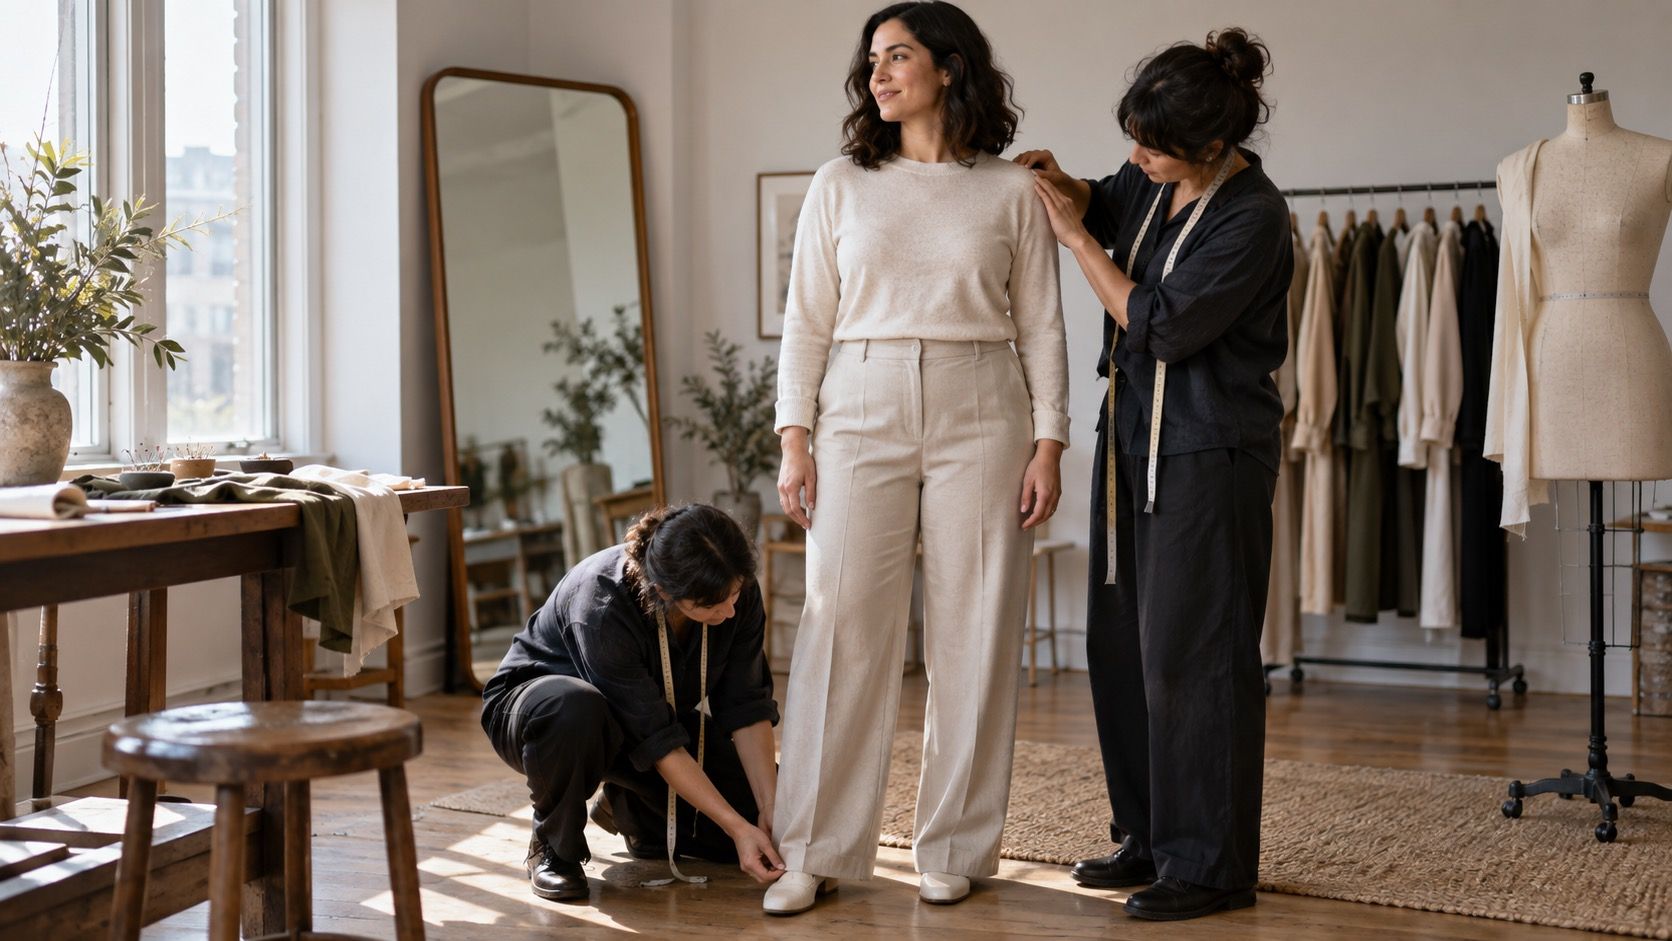
When reading a brand size chart, compare the garment's limiting point with your own measurement. For trousers, that is often the full hip; for a fitted top, the bust or shoulders may be decisive. Choose the size that accommodates the hardest-to-alter area, then assess whether the waist, hem, or sleeve can be adjusted. Taking a waistband in is routine; creating additional width across a tight shoulder seam is rarely simple.
Keep a short record of brands and cuts that work. “High-rise straight jeans, size 10, hip comfortable but waist loose” is more actionable than “I am one body shape.” Over time, your body shape measurements become a quiet shopping tool: they help you skip poor candidates, ask better questions of a tailor, and understand why one fabric succeeds where another fails.
Know when to put the tape away
Measurements are not required before every outfit. If a dress feels comfortable, lets you move, and looks like you intended, it has already passed the test. The tape is useful when a purchase is expensive, a fit problem repeats, or you need a baseline for sewing or alterations. It is less useful when it turns getting dressed into a weekly inspection.
Keep the method simple enough to repeat and humane enough to ignore when you want to. The best outcome is not a perfect category. It is a clearer sense of which proportions matter for the clothes you enjoy wearing, and which old rules deserve to stay in the drawer. A number should support your choices, never narrow them. It is a fitting aid, not a standard you have to meet or a reason to second-guess comfort.